
How to Open Semicolon-Delimited TXT Files and Convert Them to XLS Files

Go ahead, post a VBA question on StackOverflow…
I recently saw an EXCELLENTLY-described question about converting semicolon-delimited TXT files to XLS (i.e. Excel 2003 and previous) format files that was unfortunately posted to StackOverflow. (I have a love / hate relationship with StackOverflow.) The reaction was your typical passive aggressive down-voting and eventually the question was closed. Sigh.
Converting delimited text files into Excel files is something you’ll probably do 50 times this year alone — which means it’s ABSOLUTELY worth solving in a smooth, repeatable way.
Suppose you need to convert many semicolon-delimited text files into XLS files, just like my bruised and beaten friend over at StackOverflow. The files look like this:
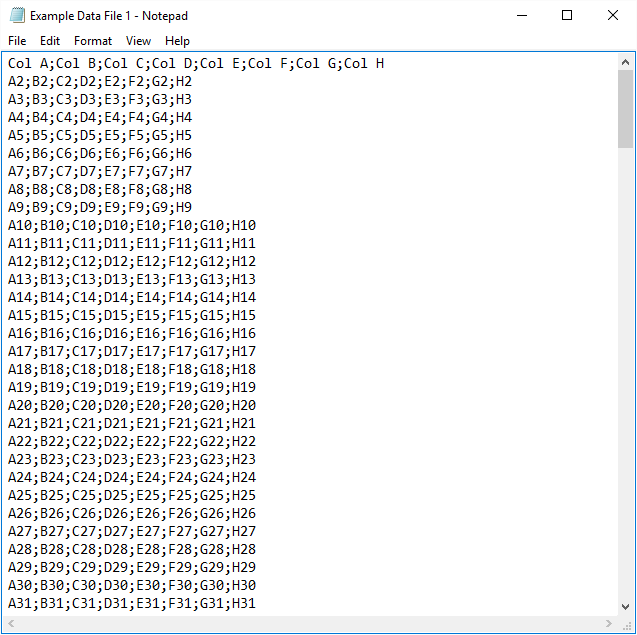
An example semicolon-delimited text file
Here’s a subroutine to convert those suckers that leverages one of my absolute favorite VBA Toolbelt functions, PromptUserToSelectFiles.
Before you get TOO lathered up about the length, know that lines 43 to 140 are already written for you in the Toolbelt, so we’re only going to focus on lines 1-41 (the ConvertSemicolonTextToXLS subroutine):
Let’s examine ConvertSemicolonTextToXLS using the 4-Step VBA Process as our guide:
Step 1 – Setup
Step 2 – Exploration
Step 3 – Execution
Step 4 – Cleanup
The Step 1 – Setup phase is handled entirely by lines 13 through 17 — the awesome PromptUserToSelectFiles function from the VBA Toolbelt mentioned earlier in this tutorial. Essentially, you only need to pass it 3 things:
- AllowMultiples (Boolean): if you’d like the user to be able to select more than one file, set this to True — otherwise set it to False
- DisplayText (String): this is the message you’ll see on the Windows Explorer prompt — here we set it to strMessage, which was assigned to “Please select the target semicolon-delimited TXT files” on line 13 above
- TargetFileType (String): this allows you to limit the select-able file type to, say, just text — this function supports “XLSX”, “XLSB”, “XLSM”, “XLS”, “CSV”, “TXT”, and “ALL”
The PromptUserToSelectFiles function returns a FileDialog object, which we assign to variable fdoUserPicks on line 14. So much work accomplished in this little one-liner!
Finally, we’ll check fdoUserPicks to see if it is Nothing on line 17 — this is to catch a user clicking “Cancel” on the Windows Explorer window that was prompted on line 14… and with that, the Setup phase is done. Whaddupppppp!
Next up is Step 2 – Exploration, which is just line 20 in this case! Since there are (potentially) many filepaths in the fdoUserPicks object, we use a For…Next loop to cycle through them.
Step 3 – Execution takes place from lines 25 to 35. We start with the incredibly handy Workbooks.OpenText method, which handles parsing delimited files almost exactly like Range.TextToColumns. The Workbooks.OpenText method has lots of optional parameters, but in this case we really only need two things:
- The filepath: since fdoUserPicks.SelectedItems holds the filepaths as strings, we get at each individual filepath by writing fdoUserPicks.SelectedItems(lngIdx)
- Semicolon: just like Text to Columns inside Excel, semicolon is one of the named delimiters, so we simply need to set this parameter to True
If you’re dealing with a less common delimiter, like pipe “|” characters, fear not: you just need to set Other to True (Other:=True) and OtherChar to the character you need (OtherChar:=”|”).** I go more into detail on this in the video walkthrough below.
The Workbooks.OpenText method leaves the just-opened file as ActiveWorkbook, so on line 27 we set wbkData as such. Usually ActiveWhatever should be avoided, but because we KNOW Workbooks.OpenText works this way we’re in the clear.
Next up, a little file name prep on line 30. Whenver you need to remove X characters from the end of a string, this is the way:
Left(TheString, Len(TheString) – X)
Boom! We want to remove “.txt”, 4 characters, so our assignment looks like this:
strFilename = Left(wbkData.Name, Len(wbkData.Name) – 4)
Finally, on lines 34 and 35, we save the file in XLS format and close it. That wraps up the execution phase!
Our Step 4 – Cleanup is a breeze on line 39 — we simply let the user know that everything has been converted! And with that, the conversion is done.
More of a visual learner? Here’s an 8-minute rundown of the code, how it works, and how you can tweak it to handle less common delimiters (like the pipe “|” character):
Are you making short work of file conversion jobs? If not, let me know and I’ll help you get what you need! And if you’d like more step-by-step, no-bullshit VBA guides delivered direct to your inbox, join my email newsletter below.
P.S. the OP at StackOverflow figured out how to solve his problem and updated the question with “NEVER MIND – I FIGURED IT OUT” and a working solution! Maybe there is hope after all…