
How to Copy Data Based on Dates: Part 1, a New Worksheet

Go head on and break ’em off wit a lil’ preview of the remix
Last week I got an AWESOME question by email about this tutorial, which explains how to copy many date ranges on many Worksheets to a new Workbook. What happens when you have all your data in a single Sheet and you want to copy specific date ranges to a new Sheet in the same Workbook instead?
Let’s do it like the Pied Piper of R’n’B though and remix the original challenge a tiny bit more — suppose our dates in column H, like this:
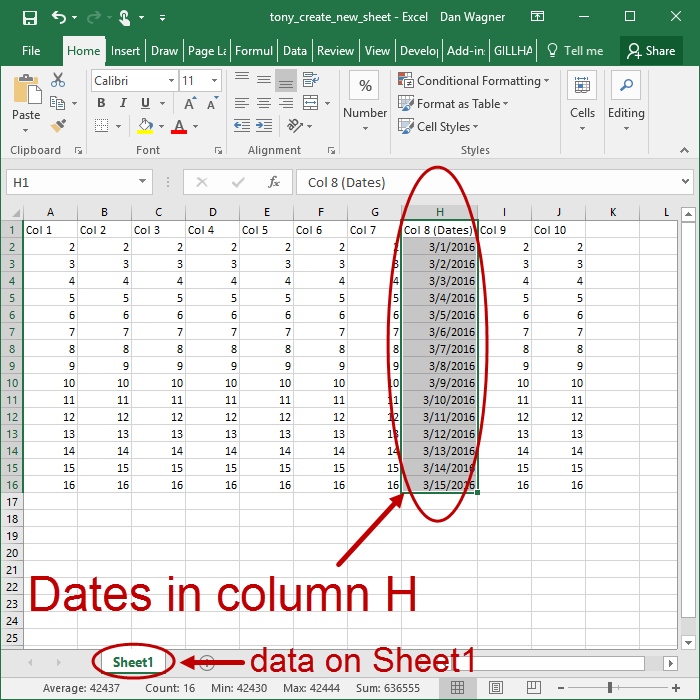
Our starting point, with dates in column H
Fortunately, almost everything we wrote in the original tutorial is still applicable!
Before we get to it, though, please take a long, deep breath — for real — because it’s going to SEEM like there is a LOT of code here. I’ll wait.
… deep breath …
Stick around immediately after the code block below for a quick chat about why you really only need to care about 60 or so.
Here’s how to copy the date range to a new Worksheet in the same Workbook:
“152 lines!?” you might have exclaimed to yourself as you came to the end. No argument here — technically, there are 152 lines (including whitespace) in the solution. But let’s cut that WAY down to size.
Lines 1-36, the PromptUserForInputDates subroutine, is exactly what we wrote in the original tutorial. Boom — that brings us down to about 120 lines.
Lines 103-152, the LastOccupiedRowNum and LastOccupiedColNum functions, were pulled directly from the VBA Toolbelt. You’re using the VBA Toolbelt, right? This is exactly the kind of boilerplate the VBA Toolbelt saves you from writing — foundational tasks, like identifying the last-occupied row or last-occupied column on a Worksheet, is something you’ll do thousands of times as an Analyst. Leverage the Toolbelt and save yourself the hassle of rewriting the same code over and over. Boom x2 — that brings us to less than 70 lines. Told ya 🙂
Let’s review CreateSubsetWorksheet, the subroutine that actually copies the data from Sheet1 to a new Worksheet, using the 4-Step VBA Process:
Step 1 – Setup
Step 2 – Exploration
Step 3 – Execution
Step 4 – Cleanup
Step 1 – Setup is handled quickly from lines 47 to 48. We assign Sheet1 to a variable and identify the column containing the dates as a number, not a letter (i.e. a string).
Our Step 2 – Exploration takes place on lines 50 to 56. lngLastRow and lngLastCol store the last-occupied row number and last-occupied column number, respectively. Lines 54-56 set up rngFull, which covers all the occupied cells — from the headers in row 1 to the last data row.
Step 3 – Execution is where things get really interesting.
Line 60 starts what is commonly called a “context manager” — With rngFull allows you to save lots of typing without losing ANY clarity, a huge win overall. (After setting the context like this, you can simply type a period character and the VBA editor will open up the expansive list of Range methods, since you are now operating on rngFull.)
Lines 61 to 63 use the amazing Range.AutoFilter method — let’s recap those parameters:
- Field: the column number, relative to the first column of the Range, that will be filtered (from left to right). Since rngFull starts in column A, the field here is 8 (i.e. column H), but if rngFull started in column D then the field would instead be 4.
- Criteria1: the first filter criteria as a string. Since StartDate is already a String, a simple concatenation with & works, so if StartDate was set to 3/5/2016 then this parameter would be set to “>=3/5/2016”.
- Criteria2: the second filter criteria as a String. Exactly like Criteria1, except this time we are setting this parameter to be less than EndDate. If EndDate was 3/10/2016, then this parameter would be set to “<=3/10/2016”.
Range.AutoFilter is a beautiful thing, and after these lines execute the rngFull space has been filtered nicely.
But what if ALL the data was filtered out, say in the case of an incorrect date range entry in the first script? That is an excellent question.

What happens if we filter out everything?
And it’s actually harder than it looks 😐
Since filtering results in a non-continuous block of data, calling Range.Rows will NOT give you what you expect! Write that little factoid down — you WILL forget it at some point (I certainly did), and the note will save you at least an hour of troubleshooting.
So how do you count the number of rows in a filtered Range? It’s a beast, but line 67 shows you the way.
Essentially, this calculation takes the Range that has been filtered (that’s the wksData.AutoFilter.Range part), looks at the first column only (that’s the .Columns(1) part), and counts only the visible cells in that column (that’s the .SpecialCells(xlCellTypeVisible).Count part). This actually makes perfect sense — if you’re only looking at a single column, by counting each visible cell you’re essentially counting each visible row, which is exactly what we want to do here!
If this statement equals 1, we know that rngFull has been completely filtered away and only the header row remains — likely an uninteresting situation to our user. In that case, we throw a message box (on line 69), clear the filters safely (on lines 71-75) and exit the routine (on line 76).
If that beastly statement is greater than 1, though, we know that some rows were left, and that means it’s time to get copying!
Line 82 stores all the visible cells in rngResult. Then, on lines 86 to 87, we create / assign a new Worksheet and create / assign a new Range.
This rngTarget variable will serve as the destination for the copy paste, which takes place on line 88.
Sweet — our data has now been copied to the new Worksheet!
Step 4 – Cleanup, usually short and sweet, is covered by lines 92 to 99.
Clearing filters is absolutely a best practice (leaving them active can lead to pesky run-time errors when rows are unexpectedly hidden), so lines 93 to 96 set the Worksheet.AutoFilterMode parameter to False and call the Worksheet.ShowAllData method (if need be) to obliterate those filters.
Finally, a MsgBox let’s the user know that their data has been transferred on line 99… and that’s it!
If you’re a “seeing is believing” type, here’s a short 6-minute walk through:
Is your script copying a date range to a new Worksheet with ease? If not, let me know and I’ll help you get what you need! And if you’d like more step-by-step, no-bullshit VBA guides delivered direct to your inbox, join my email newsletter below.