Create a New Column Based on a Different Column with VBA
What should you do when you need to insert a complicated calculation to a new column at the end of your data file?
Inserting a column of complicated calculations at the end of your data block is something you’ll do CONSTANTLY as an Analyst, but there are a million ways to add a column of values. Let’s come up with a single solution that is:
- Fast
- Easy to tweak in the future
Sound good? Good!
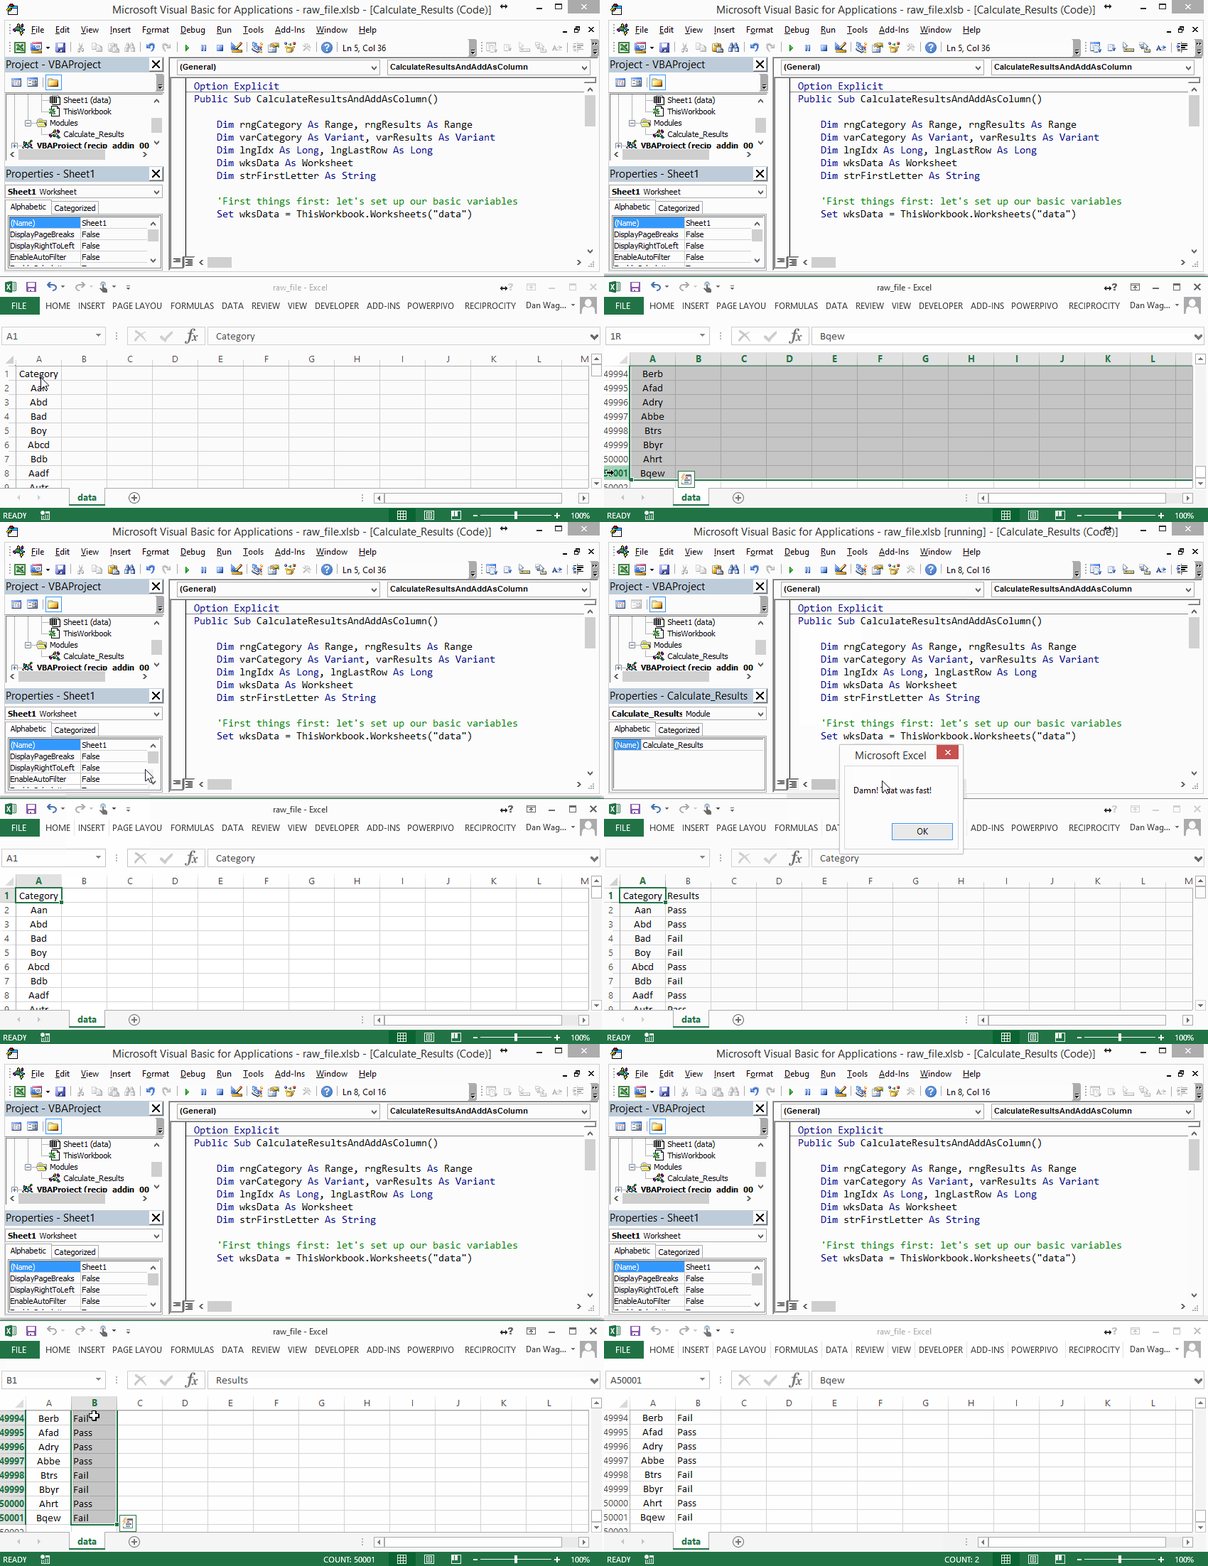
Here’s the complete subroutine used in the GIF at the top of this post — an in-depth explanation for each section is included below the code.
Let’s start from the top with two best practices.
First, use Option Explicit… seriously. It will force you to declare all your variables, which makes catching typos a breeze. Writing VBA without Option Explicit is Hard Mode — fuck that. Turn on Option Explicit.
Second, declare all your variables in one place explicitly. This gives you a single, easy-to-read identify space for your variables, which makes it a cinch to avoid type errors.
Got Option Explicit turned on and your variable declarations in one place? Sweet! Let’s get into the juicy stuff.
Good VBA code follows a 4-step process:
Step 1 – Setup
Step 2 – Exploration
Step 3 – Execution
Step 4 – Cleanup
Lines 4-11 handle Step 1 – Setup, as we declare variables and establish the Worksheet we will be operating on.
Lines 13-21 are our Step 2 – Exploration section, where we determine the last row and set up a Range that contains all the cells from A1 to the last occupied row in column A.
Lines 27-56 are the Step 3 – Execution part, which is where most of the cool stuff happens. Variant Arrays are beautiful because you can simply equate them to a Range, like on line 27.
varCategory instantly became a 1-column Array of all the values from rngCategory, which was defined on line 20.
The first letter is easy to grab on line 34, where we use:
- UCase (which capitalizes all letters)
- CStr (which converts the cell value into a String)
- Left (which takes the left-most characters)
We use a Select Case statement, which begins on line 35, to handle many If conditionals with a much-easier-to-extend syntax.
Finally, we write from the varResults Array (which we filled up with the loop and Select Case) back to the Worksheet from line 47 to 56.
Line 59 is our super-simple Step 4 – Cleanup — there isn’t any real “clean up” needed, so we just prompt the user that the macro has finished. Boom!

